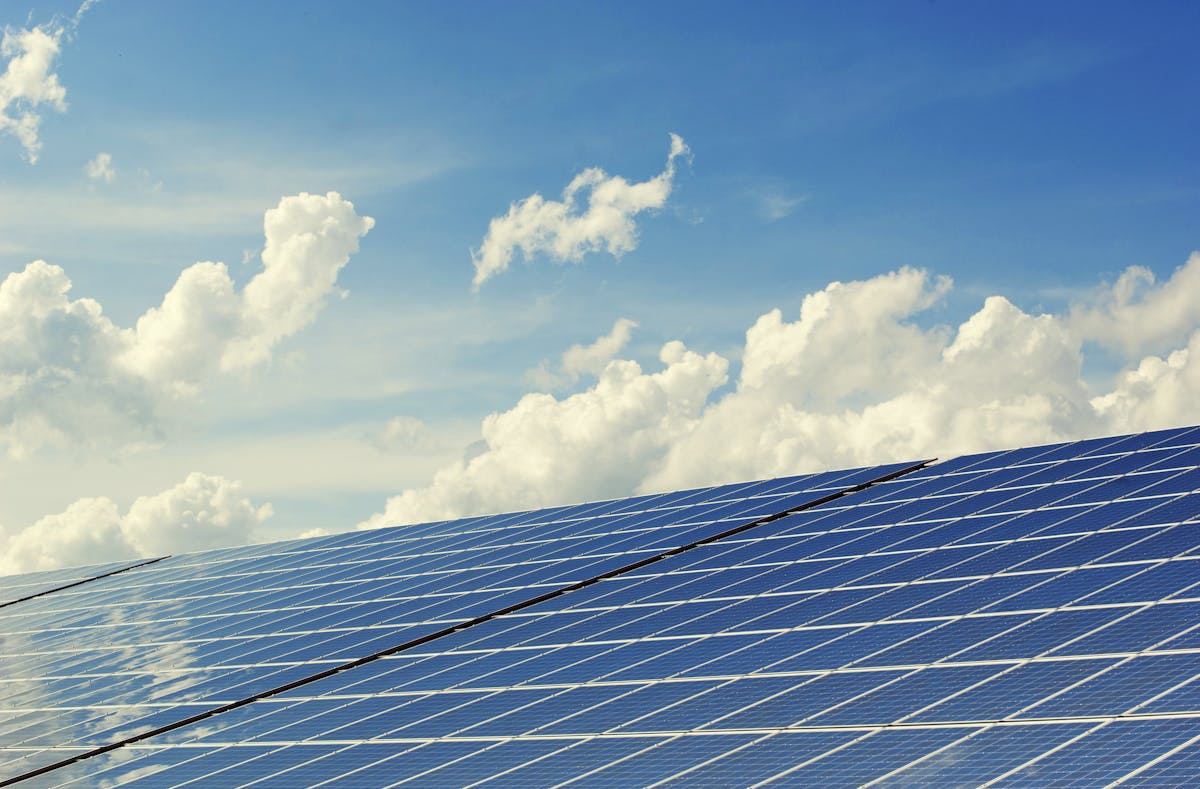
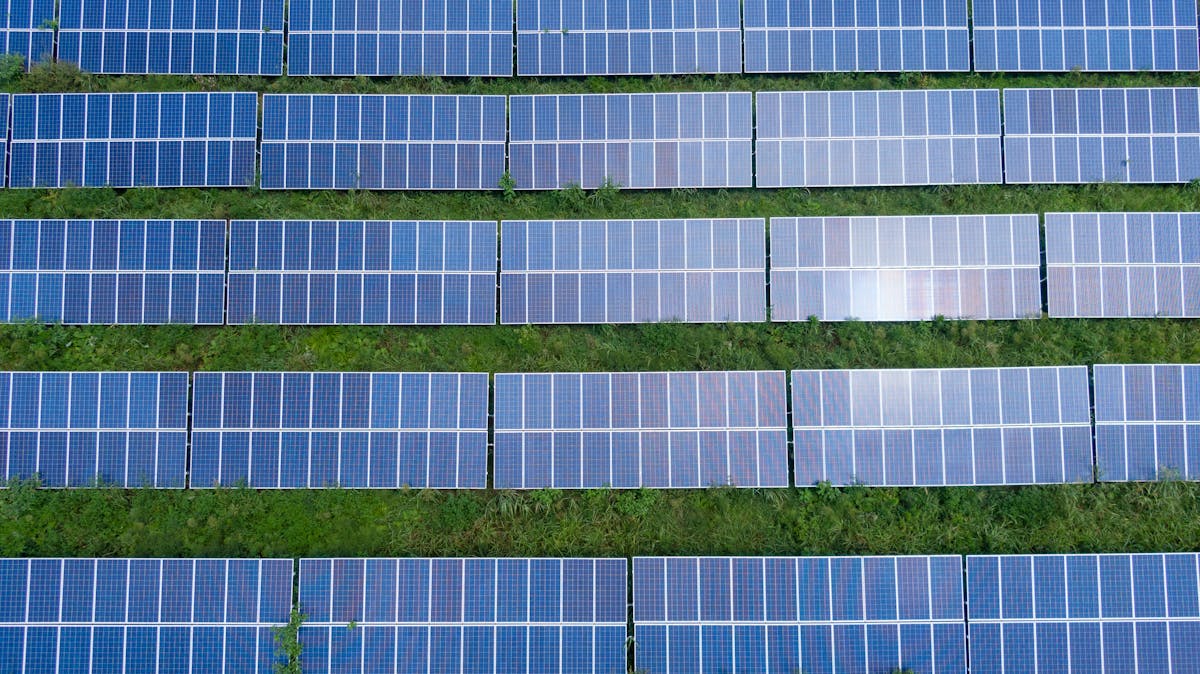
Community solar is a shared array that lets households, renters, small businesses, and even municipal accounts buy or subscribe to a slice of the electricity it produces. In upstate New York, the model sits where energy affordability, land use, and watershed resilience meet. For readers of this blog, the question isn’t simply whether solar makes sense. It’s how a community solar project can be sited, financed, and governed in ways that protect the Susquehanna River’s local tributaries, ease pressure on flood infrastructure, and build long-term neighborhood capacity for climate adaptation.
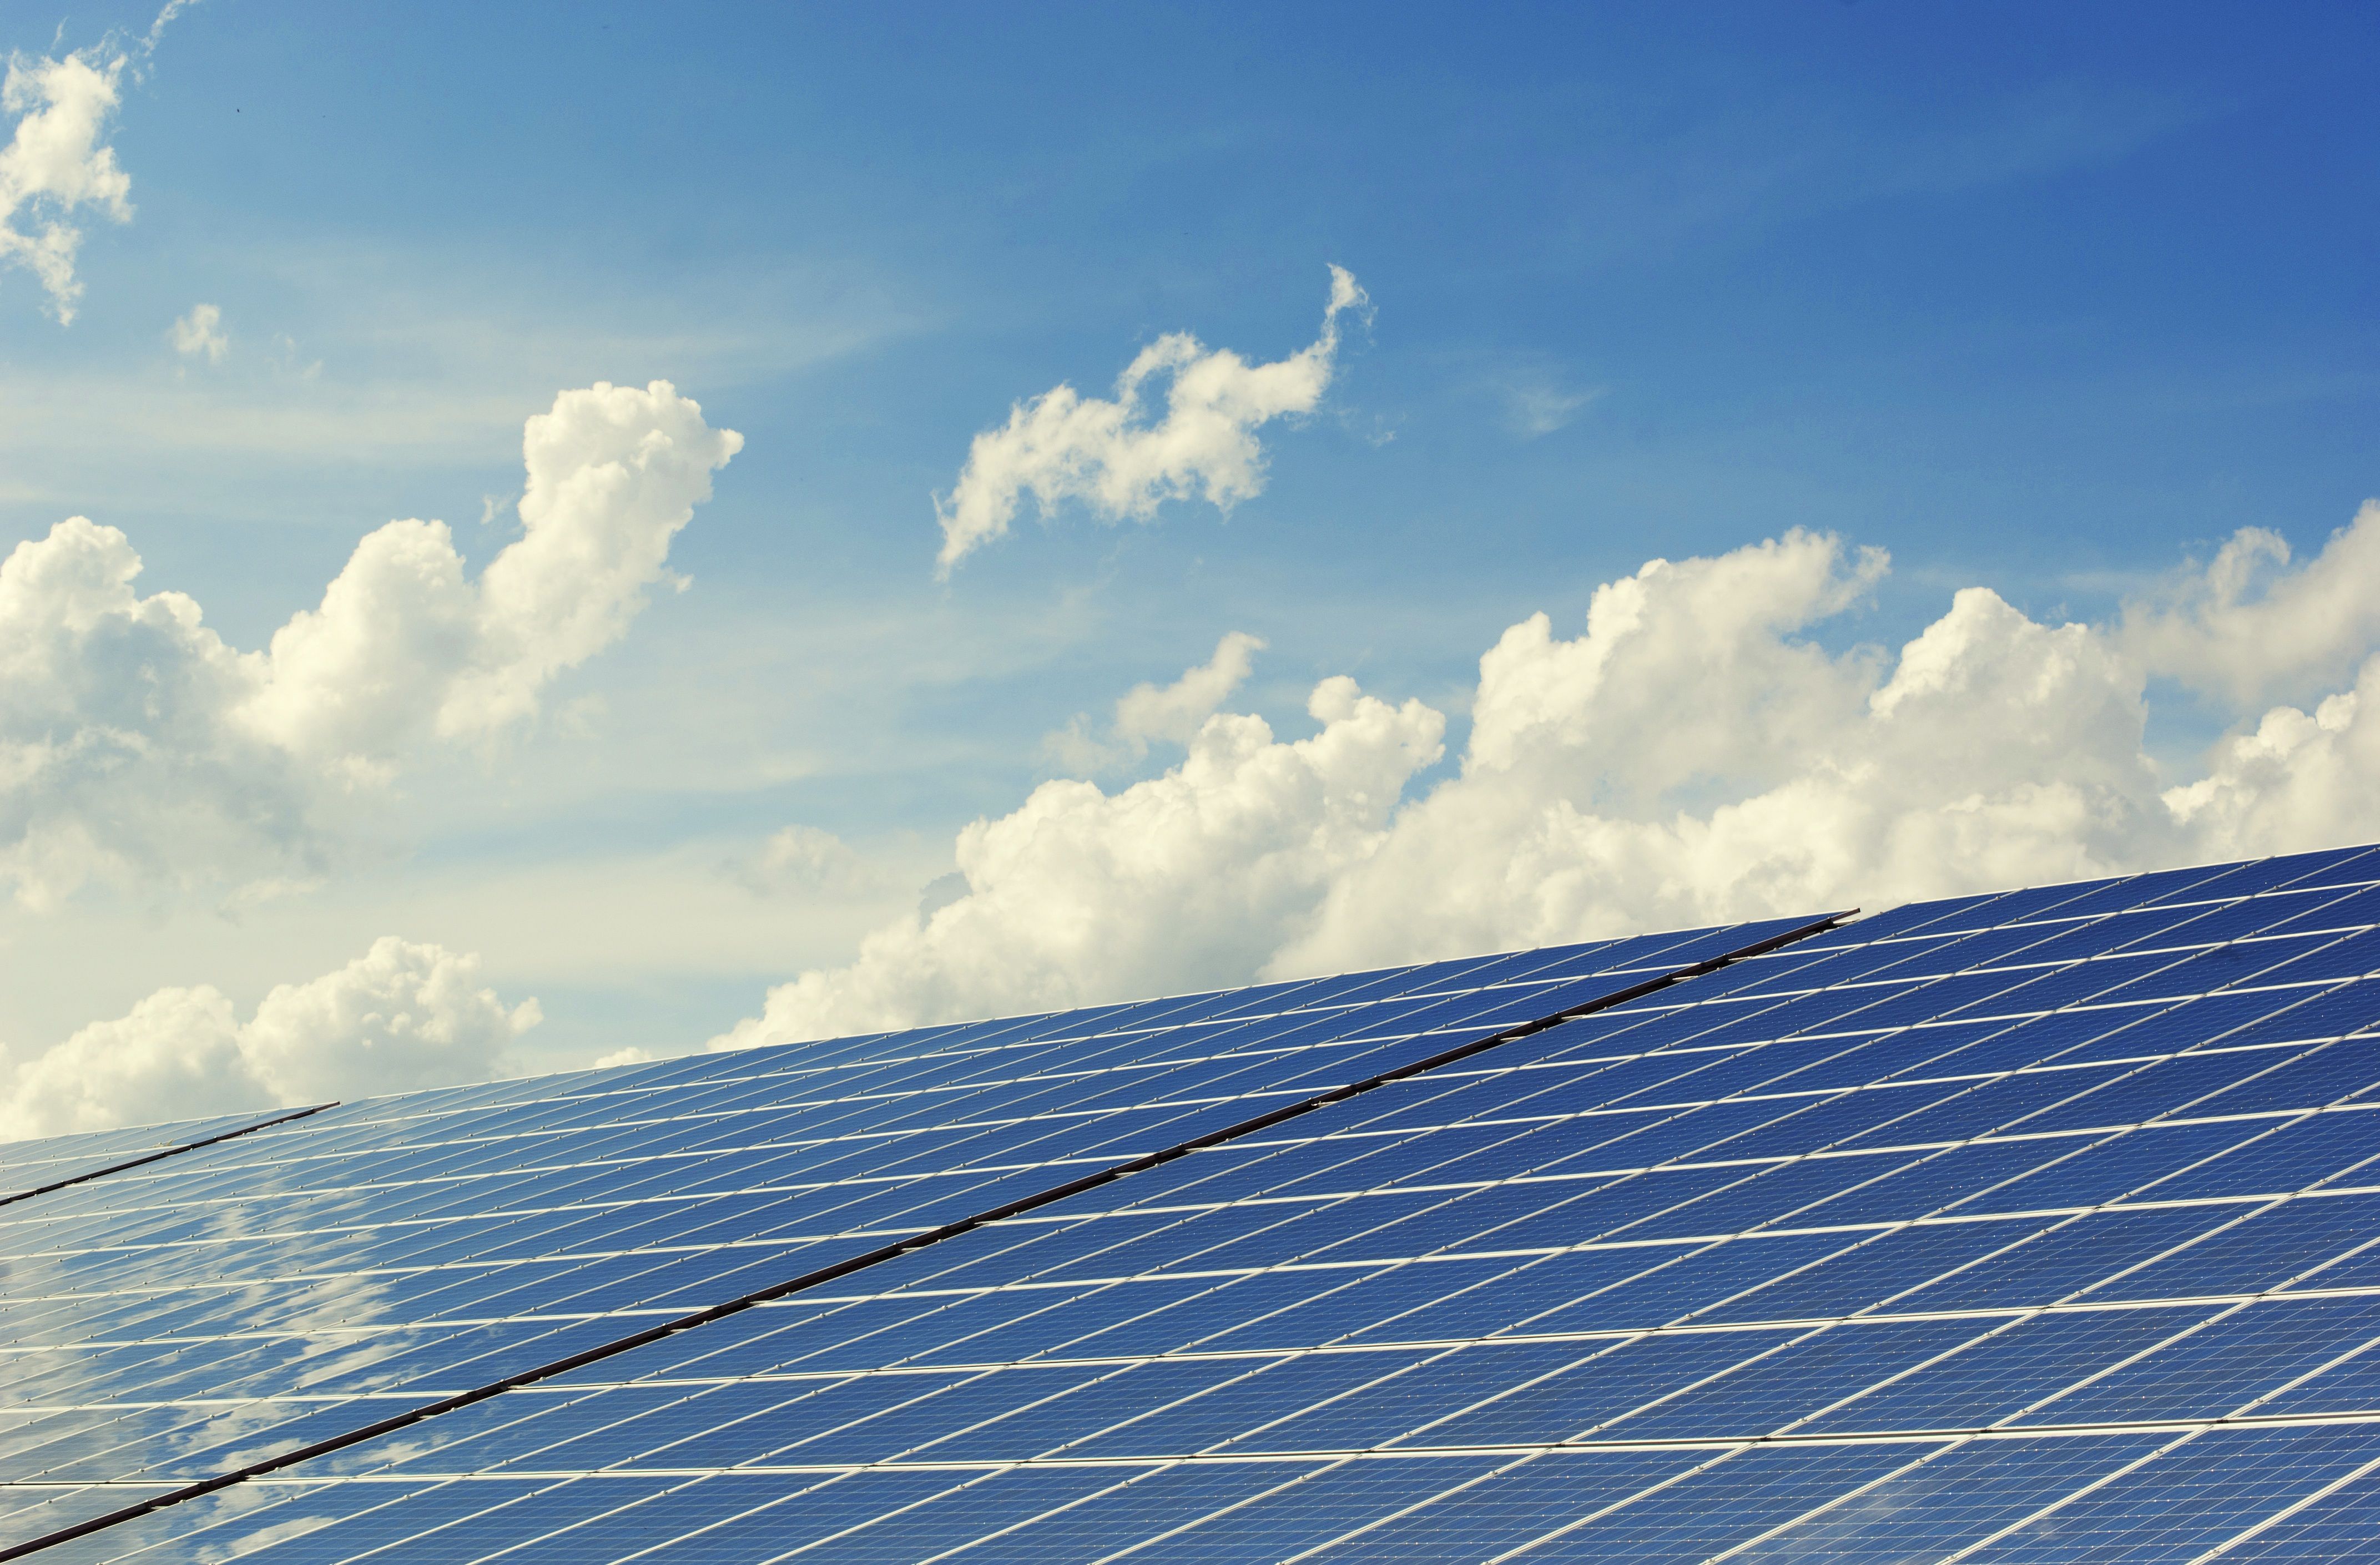
This article walks through the practical steps of developing a community solar project in the Binghamton area, with attention to the region’s floodplains, soil conditions, utility interconnection rules, and the community decision-making that can make or break a project. It’s written for neighborhood groups, municipal staff, watershed volunteers, and anyone who has looked at a sunny hillside or a capped landfill and wondered whether it could do more.
What Community Solar Actually Means in New York State
New York’s community distributed generation program, often called CDG, allows a solar project to serve multiple off-site subscribers. The project generates electricity that flows into the local grid, and subscribers receive credits on their utility bills. This is different from rooftop solar, where the panels are physically connected to one building, and different from utility-scale solar, which sells power through wholesale markets.
For a neighborhood-scale sustainability blog, the CDG model matters because it changes the geography of energy. A project can be built on a brownfield, a former landfill, a farm field, or a large commercial roof, and the benefits can be shared by residents who live miles away, including renters and people with shaded roofs. The New York State Energy Research and Development Authority, or NYSERDA, maintains program rules and incentive structures, and the Public Service Commission oversees the regulatory framework.
Why the Susquehanna Watershed Changes the Siting Conversation
The Susquehanna River basin is one of the most flood-prone river systems in the eastern United States. Its tributaries, including the Chenango River and numerous creeks that run through Broome County, respond quickly to rain and snowmelt. When a community solar project is proposed, the first question should not be about panel efficiency. It should be about water.
Ground-mounted solar arrays are often built on open land, and open land in this region is frequently either in a floodplain, on steep slopes, or on soils with high runoff potential. A poorly sited array can increase stormwater runoff, compact soil, and add impervious surface in places that already struggle to absorb heavy rain. A well-sited array, by contrast, can be paired with native meadow plantings, pollinator habitat, and stormwater infiltration practices that improve the land’s hydrologic function.
The New York State Department of Environmental Conservation has published guidance on stormwater management for solar projects, and the DEC’s stormwater permit program applies to many ground-mounted installations. Local watershed groups, including those working on Susquehanna tributary restoration, often review solar proposals with an eye toward erosion control and post-construction runoff.
Step One: Identify a Site That Can Handle Water and Sun
The best community solar sites in the Binghamton area are often not the most obvious ones. A flat, sunny farm field may look ideal, but if it sits in the 100-year floodplain or drains directly into a creek, the project may create more problems than it solves. Better candidates include:
- Capped landfills and brownfields: These sites are already disturbed, often have limited reuse options, and can host solar without converting productive farmland or forest.
- Large commercial or industrial rooftops: Rooftop community solar avoids ground disturbance entirely and can be paired with stormwater retrofits on the same property.
- Parking lots and other already-paved areas: Solar canopies over parking lots generate power while reducing the heat island effect, though they cost more per watt than ground-mounted systems.
- Marginal agricultural land outside flood zones: Some projects use land that is too wet, rocky, or sloped for reliable crop production, but even these sites need careful stormwater design.
Before any engineering work begins, a project team should pull FEMA flood maps, county soil surveys, and local wetland maps. In Broome County, the planning department and the Soil and Water Conservation District can help identify constraints. The FEMA Flood Map Service Center is a useful starting point for understanding whether a site is in a regulated floodplain.
Stormwater Design for Ground-Mounted Arrays
Solar panels themselves are not impervious in the same way as a parking lot, but the rows of panels, access roads, and inverter pads do change how water moves across a site. Rain falls on the panels, runs to the lower edge, and can concentrate in narrow strips of soil. Over time, this can cause erosion and gullying.
Good design spreads that water out. Common practices include:
- Leaving vegetated buffers between panel rows and along site boundaries.
- Using drip-line level spreaders or gravel trenches to disperse runoff from panel edges.
- Planting deep-rooted native grasses and forbs that hold soil and increase infiltration.
- Designing access roads with permeable surfaces or routing them to vegetated swales.
- Avoiding soil compaction during construction by limiting heavy equipment to designated corridors.
These practices are not exotic. They are standard stormwater management techniques, but they are often skipped when a developer is trying to minimize upfront costs. A community-led project has a better chance of insisting on them from the start.
Step Two: Build a Project Team That Includes Watershed Voices
Community solar projects can be developed by private companies, nonprofit organizations, municipalities, or cooperatives. In upstate New York, many projects are proposed by out-of-state developers who lease land from a local landowner and sell subscriptions across a utility territory. That model can work, but it often leaves local residents with little say in siting, design, or long-term land stewardship.
A stronger model for neighborhood-scale resilience is a project team that includes, from the beginning, people who know the local creeks and floodplains. That might mean a representative from a watershed association, a member of the town conservation board, a county soil and water district staffer, or a resident who has watched a particular stream rise for thirty years.
This is not about adding bureaucracy. It is about avoiding expensive mistakes. A developer who does not know that a field floods every five years may design a project that fails during its first major storm. A local resident who has seen that flooding can flag the problem before the first fence post is driven.
Governance Options for Community-Led Projects
There are several ways to structure a community solar project so that local residents have real ownership or decision-making power:
- Municipal aggregation: A town or city can subscribe to a community solar project on behalf of residents, negotiating terms and ensuring that low-income households are included.
- Nonprofit development: A local nonprofit can develop the project and use subscription revenue to fund other community programs, including watershed restoration.
- Cooperative ownership: Residents can form a cooperative that owns the array and distributes benefits to members. This is more complex but gives the community the most control.
- Landowner partnerships with strong lease terms: If a private developer owns the project, the landowner and local government can negotiate lease terms that require stormwater best practices, pollinator plantings, and decommissioning plans.
Each option has tradeoffs. Municipal aggregation is relatively simple but depends on local government capacity. Cooperative ownership is empowering but requires significant legal and financial work. The right choice depends on the specific neighborhood, the available land, and the people willing to lead the effort.
Step Three: Understand the Utility Interconnection Process
Community solar projects must connect to the local electric grid, and in the Binghamton area, that means working with NYSEG or another utility. The interconnection process can be slow, and the cost of grid upgrades can make or break a project’s finances.
The first step is a pre-application report, which gives the project team a rough idea of whether the local distribution circuit can handle the proposed array. If the circuit is already congested, the utility may require expensive upgrades, such as new transformers or reconductoring. This is a common reason that otherwise promising projects stall.
For a neighborhood group, the practical lesson is to talk to the utility early and to be realistic about timelines. Interconnection can take a year or more, and the costs are not always predictable. The NYSERDA NY-Sun program provides technical assistance and incentives that can help offset some of these costs, but the process still requires patience.
How Interconnection Relates to Flood Resilience
There is a less obvious connection between grid infrastructure and watershed resilience. When a major storm hits, the electric grid often fails in exactly the places that are already dealing with flooding. Substations in low-lying areas, poles along creek banks, and underground lines in saturated soils are all vulnerable.
A community solar project that is sited on high ground, with its interconnection equipment elevated above flood levels, can provide a measure of local resilience. It will not keep the lights on if the broader grid goes down, unless it is paired with battery storage and islanding capability, but it can reduce the strain on the system during normal operations and provide a model for flood-aware energy infrastructure.
Some communities are beginning to pair community solar with resilience hubs, which are buildings that can provide power, heat, and information during emergencies. A school, community center, or fire station that subscribes to a community solar project and has on-site battery storage could serve as a refuge during a flood-related outage. This is a natural next step for neighborhoods in the Susquehanna basin.
Step Four: Finance the Project Without Losing Local Control
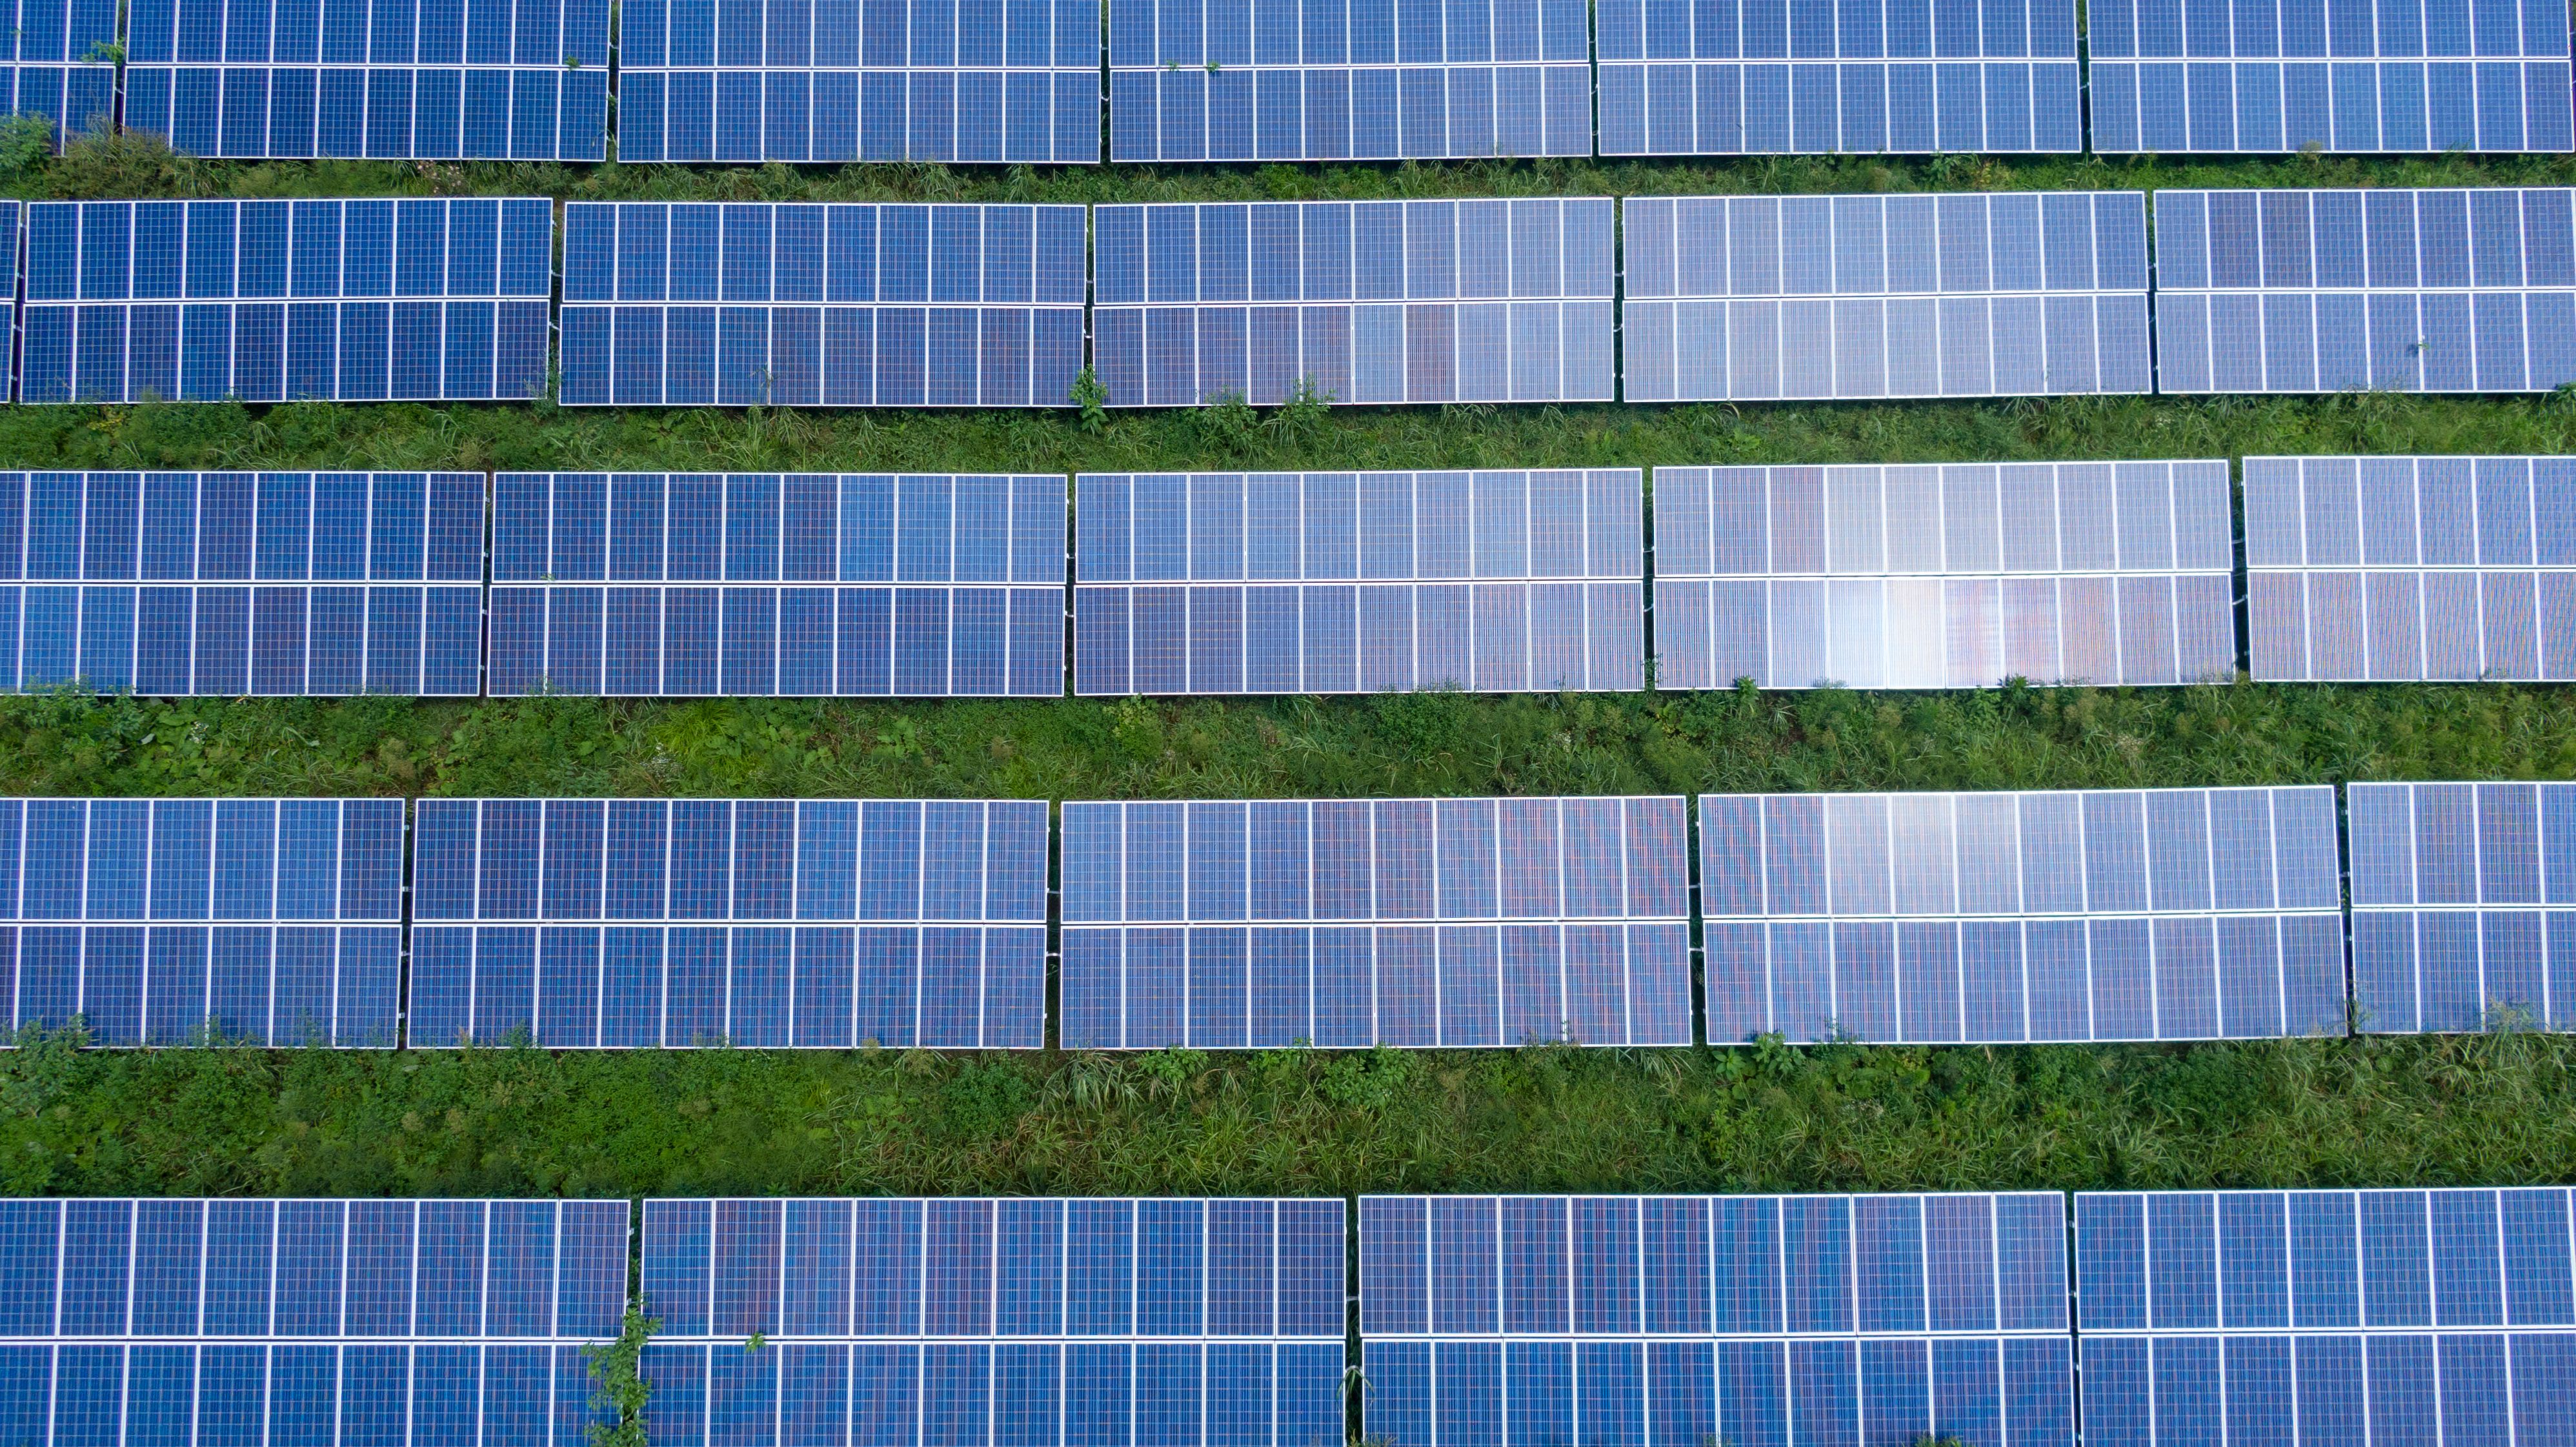
Community solar projects are capital-intensive. A typical ground-mounted array of one to five megawatts can cost several million dollars. The financing usually comes from a combination of tax credits, state incentives, and private investment.
The federal Investment Tax Credit, or ITC, covers a significant portion of the project cost, and New York’s NY-Sun program provides additional incentives. For projects that serve low- and moderate-income households, there are additional adders and grant programs. The challenge is that these incentives are often easier for large developers to access than for small community groups.
One practical approach is to partner with a developer that has experience with community solar, but to negotiate terms that protect local interests. That might include a requirement for local hiring, a commitment to pollinator-friendly ground cover, a stormwater maintenance plan, and a decommissioning bond that ensures the site will be restored if the project is ever removed.
Another approach is to work with a community development financial institution, or CDFI, that specializes in clean energy. These lenders are often more willing to work with nonprofit and cooperative ownership models than traditional banks.
Subscription Design and Equity
Who gets to subscribe to a community solar project is a design decision, not an afterthought. In many projects, subscriptions are sold on a first-come, first-served basis, which tends to favor people with good credit and stable addresses. That leaves out renters, low-income households, and people who move frequently.
New York’s CDG program includes provisions for low-income subscribers, and some projects set aside a portion of their capacity for households that qualify for utility bill assistance. A neighborhood-scale project in Binghamton could go further by working with local housing organizations, churches, and community centers to recruit subscribers who might otherwise be left out.
This matters for watershed resilience because the people most affected by flooding are often the same people who have the least access to clean energy savings. A community solar project that reduces energy burdens for flood-prone neighborhoods is doing two things at once: cutting greenhouse gas emissions and building the economic resilience that helps households recover after a storm.
Step Five: Plan for the Long Term, Including Decommissioning
Solar panels last for decades, but they do not last forever. A community solar project should have a clear plan for what happens at the end of its useful life, usually 25 to 30 years. That plan should include removing the panels, racks, and inverters, restoring the soil, and deciding what the land will become next.
In a flood-prone watershed, decommissioning is not just an administrative detail. If a project is abandoned or poorly maintained, the site can become a source of erosion, invasive species, and debris during floods. A decommissioning bond, held by the local government or a third party, ensures that the money will be there to do the work even if the original developer has moved on.
The best decommissioning plans are written at the beginning of the project, not the end. They specify who is responsible, how the work will be funded, and what the site should look like afterward. In some cases, the land can be returned to agriculture, converted to a community park, or restored as native meadow and pollinator habitat.
What a Binghamton-Area Community Solar Project Could Look Like
Imagine a capped landfill on the edge of a Broome County town, surrounded by a buffer of native grasses and wildflowers. The site is above the floodplain, with a stormwater system that slows runoff and lets it soak into the ground. A local nonprofit owns the array, and subscriptions are reserved for households in the nearby flood-prone neighborhood. The project’s revenue helps fund a part-time watershed coordinator who works with residents on rain gardens, stream cleanups, and emergency preparedness.
That is not a fantasy. It is a realistic project that could be built with existing state programs, federal tax credits, and local leadership. The hard parts are not technical. They are organizational: finding the right site, building trust among neighbors, negotiating with the utility, and committing to the long-term stewardship of the land.
For a blog focused on neighborhood-scale sustainability and watershed resilience, community solar is not a separate topic. It is part of the same conversation as floodplain restoration, stormwater management, and climate adaptation. The energy system and the water system are connected, and the neighborhoods that understand that connection will be better prepared for what is coming.
Frequently Asked Questions
Can renters participate in community solar?
Yes. Community solar is designed to allow renters and people without suitable roofs to subscribe to a shared project. Subscribers receive credits on their utility bills, and there is no equipment installed on their homes. The main requirement is that the subscriber lives in the same utility territory as the project.
How does community solar affect flood risk?
A well-designed community solar project can reduce flood risk by improving stormwater infiltration and avoiding development in floodplains. A poorly designed project can increase runoff and erosion. The key is siting the project outside regulated flood zones and using stormwater best practices such as vegetated buffers, level spreaders, and deep-rooted native plantings.
What is the difference between community solar and rooftop solar?
Rooftop solar is installed on a single building and serves that building’s electricity needs. Community solar is a larger, off-site array that serves multiple subscribers through the local grid. Community solar is often more accessible for renters, people with shaded roofs, and households that cannot afford the upfront cost of rooftop panels.
How long does it take to develop a community solar project?
Most community solar projects take two to four years from initial site identification to commercial operation. The timeline includes land agreements, permitting, utility interconnection studies, financing, construction, and subscriber enrollment. Interconnection delays are one of the most common reasons projects take longer than expected.
Who pays for decommissioning a community solar project?
The project owner is responsible for decommissioning, but a well-structured project includes a decommissioning bond or escrow account that guarantees the funds will be available. Local governments can require this as a condition of site plan approval. The bond should cover panel removal, racking and inverter removal, soil restoration, and site revegetation.
Next Steps for Binghamton-Area Readers
If you are interested in exploring community solar in your neighborhood, start with a map. Identify potential sites: capped landfills, large rooftops, parking lots, and marginal land outside the floodplain. Then talk to your town or city planning department, your county Soil and Water Conservation District, and any local watershed groups that are active in your area.
Ask hard questions about water. Where does the site drain? Has it flooded in the past? What will the project do to slow runoff and protect nearby creeks? A developer who cannot answer those questions is not ready to build in the Susquehanna watershed.
Finally, think about who should benefit. A community solar project that serves only the most creditworthy subscribers is a missed opportunity. The neighborhoods that face the greatest flood risk are often the same ones that could benefit most from lower energy bills and a more resilient local grid. Building a project that serves those neighborhoods is not just good energy policy. It is good watershed policy.
This article is the first in a planned series on distributed energy and watershed resilience. Future pieces will look at battery storage for flood-prone neighborhoods, the role of municipal aggregation in Broome County, and how to evaluate solar proposals that come before local planning boards. If you have a site in mind or a question about a project in your area, leave a comment or send a note through the contact page.